
In Tutorial 3, we were taught how to do some photo retouching. This is how the BEFORE image look like.

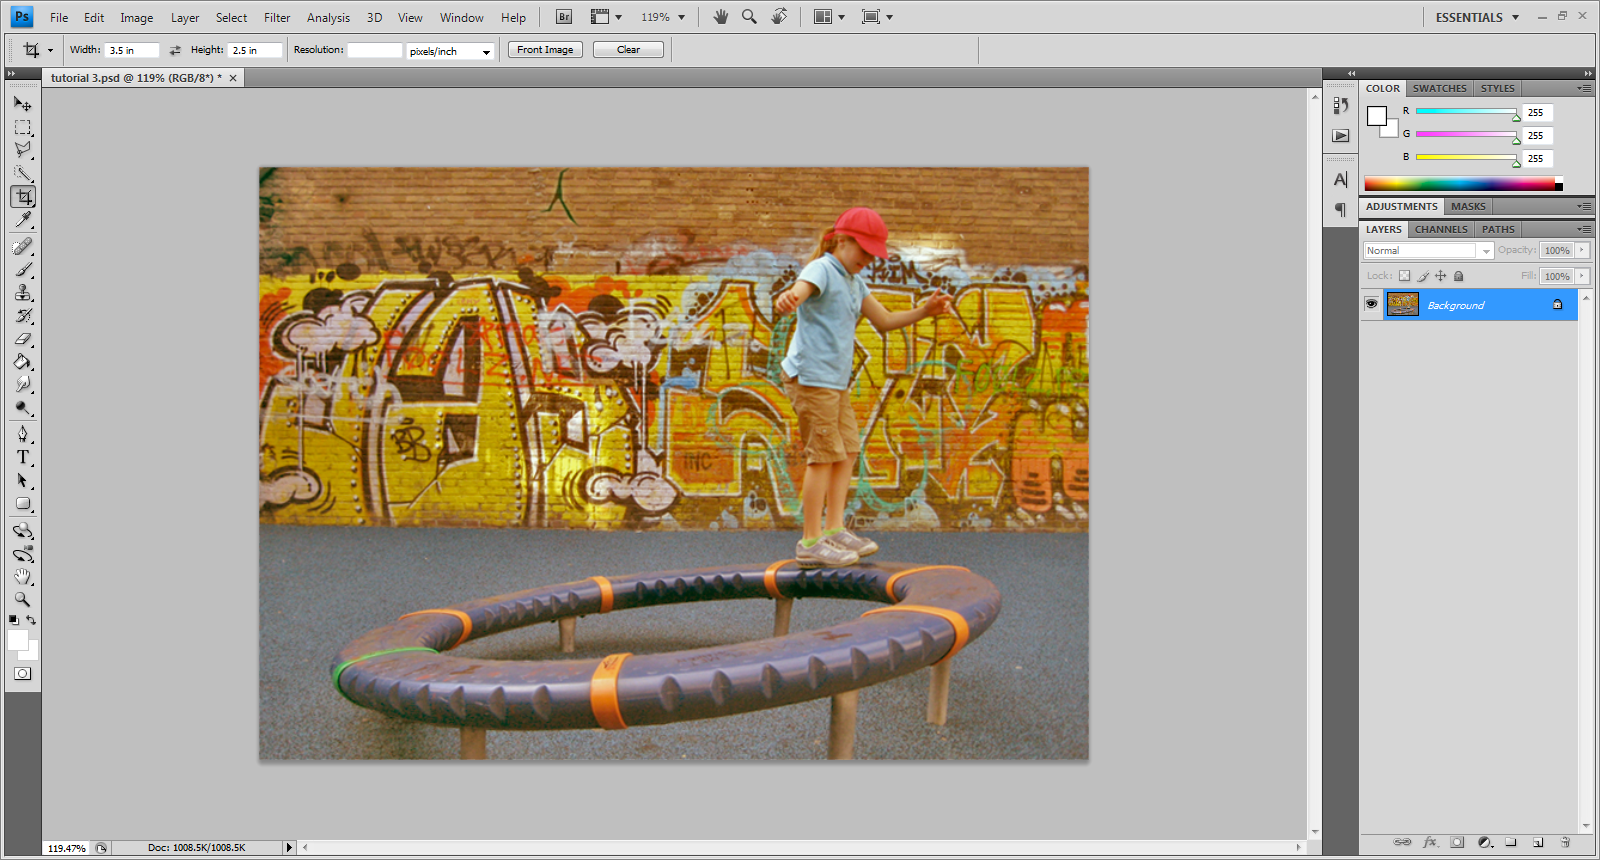
Since the photo is tilted, we're gonna straightened and crop the image. Select the 'Crop Tool' and enter the dimensions in the option bar shown below. Then, draw a crop marquee around the image. Later, rotate the marquee accordingly so that it matches the angle of the picture.


Now, we're making some automatic adjustments to the cropped image. Do so by selecting 'Auto Color' at the Image tab.


Then, follow these steps to adjust the Shadow/Highlights.


Next, we will remove the color contrast of the image. Click the Color Balance button in the Adjustments panel. Select Midtones for the Tone and select Preserve Luminosity. Adjust the sliders like shown.


The next step, we will adjust the tonal range of the image. Do so by following these steps.


The next task is to replace the color of the girl's cap. First, zoom in too see the girl's cap clearly. The select the Background layer. Use the 'Rectangular Marquee Tool' and draw around the girl's cap.


Select 'Localized Color Cluster'. Then, use the 'Eyedropper Tool' and click on the cap to use that color as a sample. Then use the 'Add To Sample Eyedropper' to replace the color until the entire cap is selected in the mask display.


Next, we will adjust the lightness of the playground equipment to bring out the shadows and reduce the shininess. Select the 'Dodge Tool' and change the 'Default Foreground' to black and 'Background Color' to white. Then drag the 'Dodge Tool' over the playground equipment.

Now, we will adjust the saturation of the graffiti in this image. Select the 'Sponge Tool' and change the mode to 'Saturate' and flow about 40%. Then drag the 'Sponge Tool' back and forth to increase its saturation.

Then, to repair a certain areas in the image, we can use the
'Clone Stamp Tool' to do so. Press Alt as you click a source point and drag at the area that we want to repair.
'Clone Stamp Tool' to do so. Press Alt as you click a source point and drag at the area that we want to repair.


That's basically what was taught by Madam Lydia :)
No comments:
Post a Comment