
This post is to brief on the techniques and tools used to retouch and enhance the images in Assignment 1 e-Wallpaper. First up, is to apply the 'Clone Stamp Tool' to repair certain areas in the images.
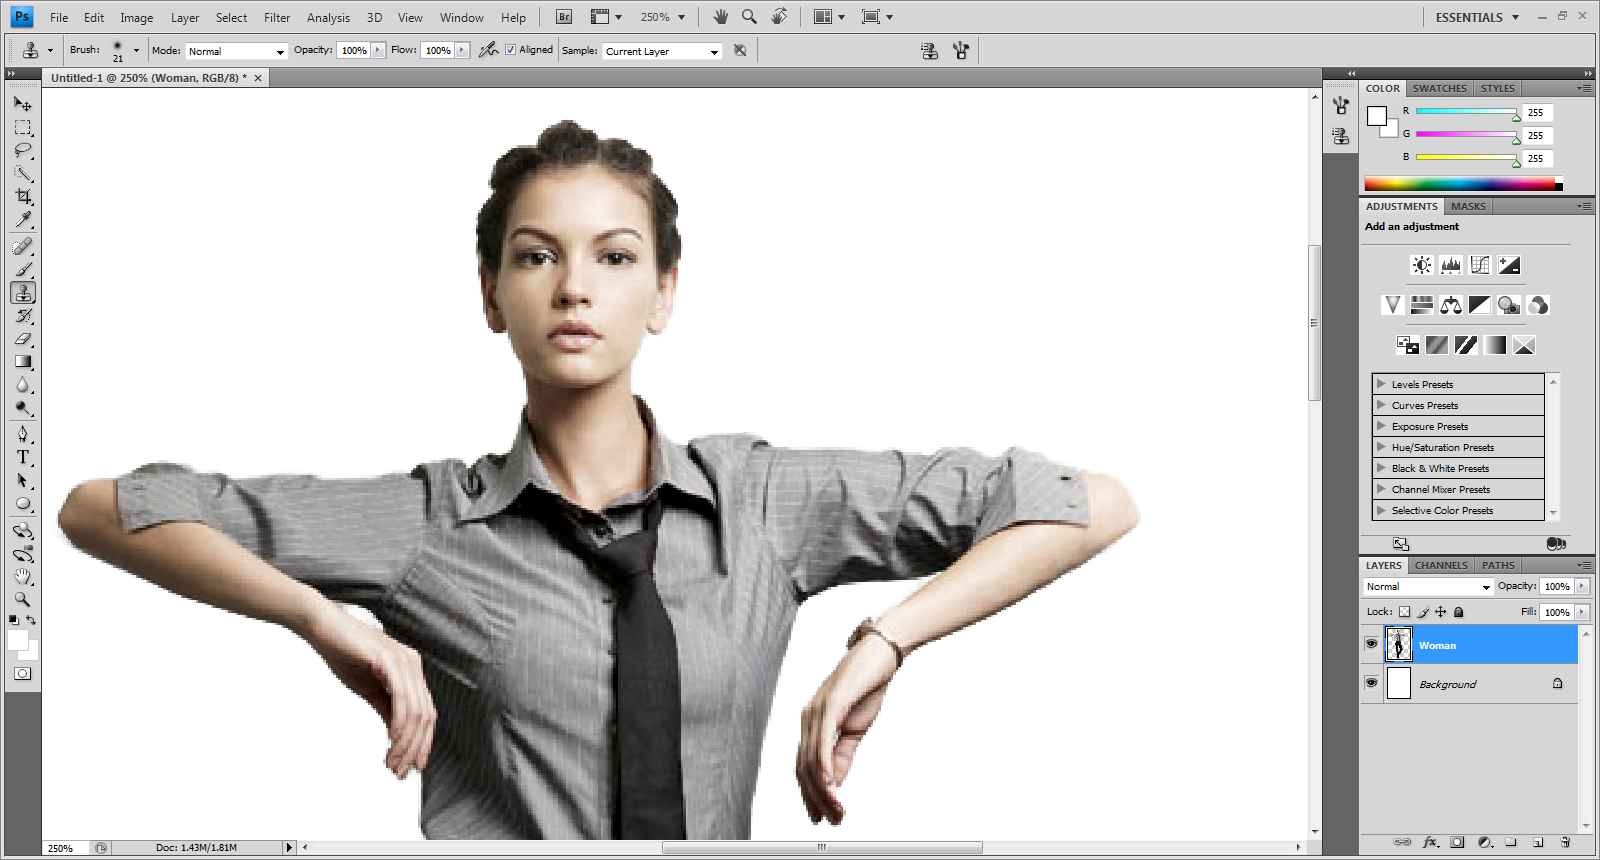
This is the image of businesswoman after applying the 'Selection Tool' from Tutorial 1.

As you can see, the area around the arms were not selected perfectly.

To perfect the arms, the 'Clone Stamp Tool' will be used to select a particular part of the arm that will be used to clone on the affected area. Before cloning, go ahead to Window --> Clone Source and adjust the settings as follows. Be sure to select the 'Show Overlay' which functions to let you see what you're cloning before you stamp it. Also, select 'Aligned' in the options bar so that you won't begin sampling from the same source point, regardless of where you place the tool each time you make a stroke.

To select a clone source, press down the Alt button and select the clone source to be used as a clone. Later, simply drag the 'Clone Stamp tool' until you get what you want.

Next, I will cover the shiny part on the FOM signage in the image.

The 'Smudge Tool' will be used to cover the shiny part on the FOM signage. Select the mode to 'Darken' and drag the tool until the color is blended nicely and the shiny parts are gone.


Then, the signage color is changed to a pinky color using the 'Replace Color'.

To enhance the image of the woman, the 'Smart Sharpen' filter and 'Reduce Noise' filter are used.


Final Image:

No comments:
Post a Comment